Creating your own website doesn’t mean you have to be a coding wizard. In fact, most of us are no-code experts! You may find yourself wondering “how do I start creating my website?” Well, let’s walk through everything you need to create your own site.
In this ultimate guide, we’ll cover each step for creating your own website in 2026 — starting with picking out your perfect domain & hosting plan. Then we will customize your website using wordpress and publish your very first blogpost. We also share some tips on how to get started with SEO.
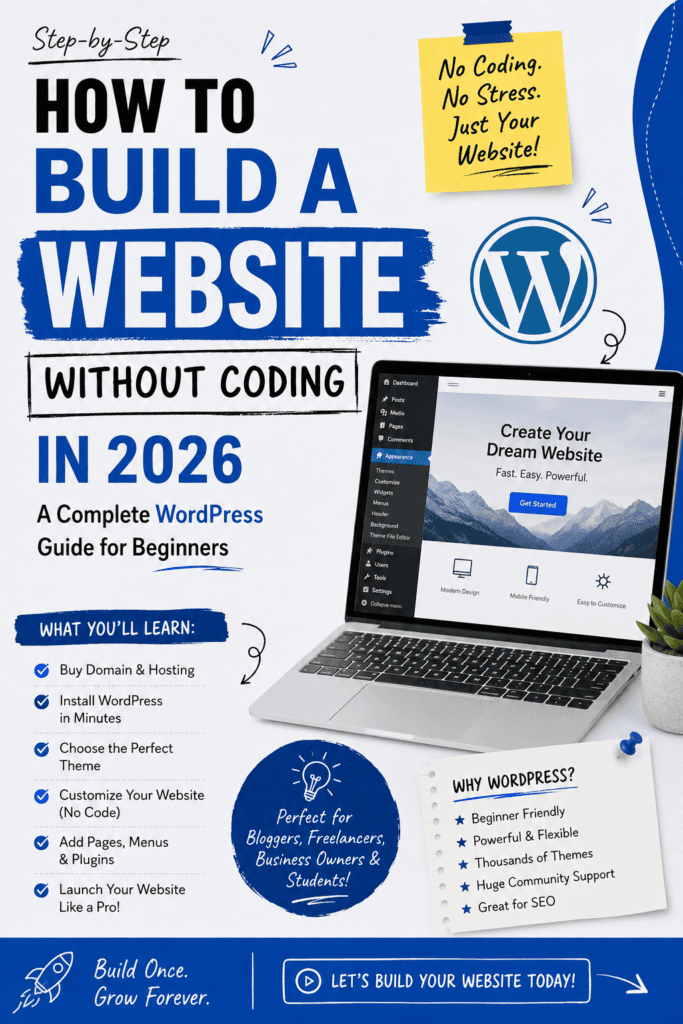
What do you need to build a professional website?
No coding experience needed! You’ll be able to build anything from a blog to an online store with the right set of tools – these are designed specifically for beginners.
To get started all you’ll need is:
- A domain name (yourwebsiteaddress)
- Web hosting (stores your site and makes it available on the internet)
- A content management system such as WordPress
Once you have these three basics covered, you’re good to go!
When you have these 3 things sorted out then you are good to go and start building your website.
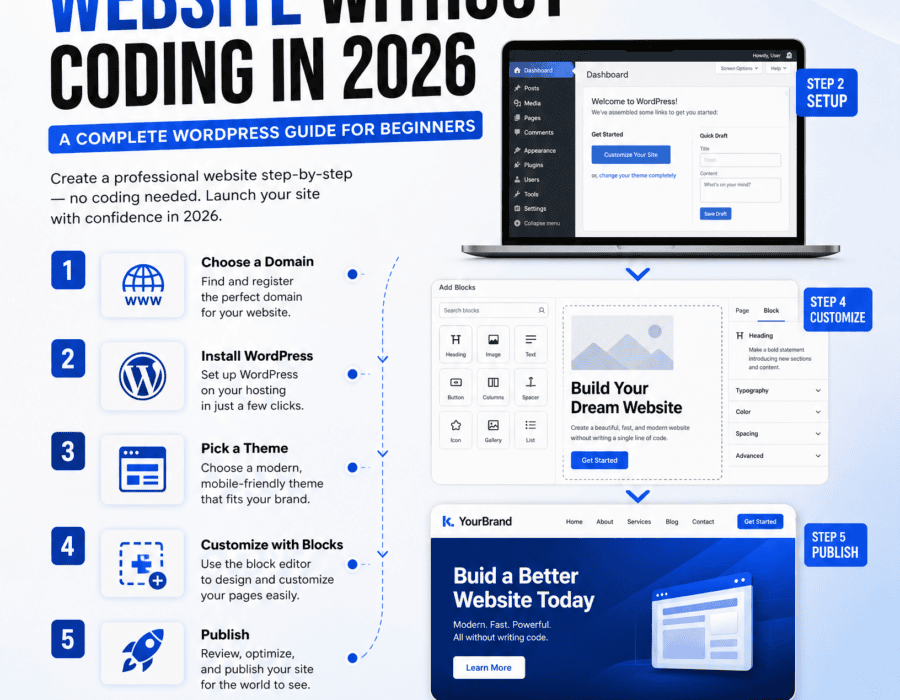
Choose a domain name
Your domain is the first impression visitors will get when they visit your website, so don’t rush this step.
Try to choose a short, easy-to-spell-and-say domain that’s easy to type on a phone. Also, think about whether you want the domain name to reflect your brand/topic (e.g., if you are making a digital marketing site, having a domain related to your business or personal identity would be great).
Also avoid using a domain with lots of numbers or hyphens.
Once you have an idea for a good domain name, you can sign up through domain registrars such as Hostinger, GoDaddy, and more. Many hosting companies include a domain registration service for the first year (depending on which plan you pick). Make sure to check how much it costs to renew it afterward, since there might be significant increases in prices once the discount period ends.
Choose the right web hosting
Now, after getting a domain name, it’s time to consider a host for your website. This part is crucial because the host determines how fast your website will load, its overall security, and its availability (uptime). But fret not! You don’t necessarily need the most expensive hosting plan just yet.
First of all, check if the hosting provider provides a good WordPress experience on their platform with features like WordPress one-click installers, free SSL certificate, good uptime percentage, backup facilities, etc. Some popular choices include Hostinger and GoDaddy.
As for Hostinger’s plans, they offer backups, CDN options, AI tools, plus their standard 30-day money-back guarantee.
GoDaddy’s Managed WordPress Hosting has a few key advantages over other hosting services like SiteGround, InMotion Hosting, etc. They include pre-installed WordPress, an SSL certificate, backups, automatic updates, plus other helpful security tools. GoDaddy also offers various levels of resources (i.e., server specs) based on your specific plan.
Because every feature, including price points, changes from provider to provider, I recommend checking out what each company currently has available. This way, you can find exactly which option works best for your site.
Hostinger vs GoDaddy: which should you choose?
There’s no “best” host that suits all needs — choose one that fits your budget and meets your needs.
| Feature | Hostinger | GoDaddy |
|---|---|---|
| Beginner-friendly | Yes | Yes |
| WordPress hosting | Yes | Yes |
| SSL | Available | Available |
| Backups | Plan-dependent | Plan-dependent |
| WordPress management | Available | Available |
| Customer support | Available | Available |
| Best suited for | Beginners, creators, small websites | Beginners, businesses, managed WordPress users |
Try comparing things like total cost, renewal price, storage, backup frequency, and support instead of choosing just because someone offered a temporary discount.
You may want to start out small (basic) but then increase your features as you grow in terms of website traffic!
Install WordPress
Once your domain and hosting are set up together, the process of setting up WordPress should be pretty easy. Most hosts will allow you to install it while setting things up or via their host control panel.
In order to begin using WordPress on your website, all you have to do is choose WordPress from the available platforms, then input your domain name into the field provided along with creating your username (make sure this one is different than what’s listed here) and creating your own unique password – never use “password” as your password again!
Finally, just give your website a name and click on go. You’ll now see the WordPress Dashboard where you can manage posts, pages, themes, plug-ins and more! Make sure you’ve got a strong password ready for your admin login.
Choose a WordPress theme
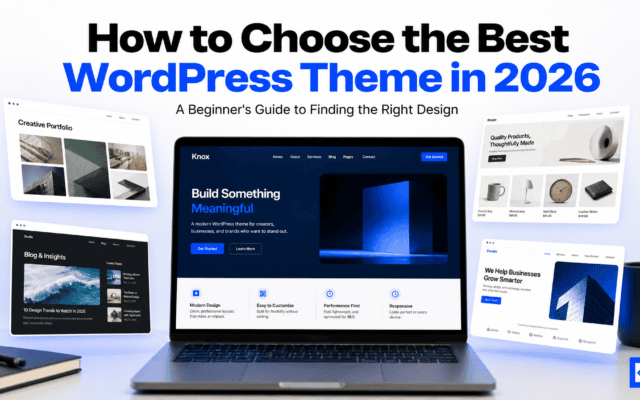
Your theme dictates how your site will look and be laid out. There’s no point judging based on looks only – make sure that it is mobile responsive, loads fast, customizable, updated regularly, and comes with good docs/support for it.
The most important thing is to ensure that your website holds up well when viewed on different devices, whether it’s on desktops or mobile phones.
You could start off by choosing a FREE theme first but don’t rule out switching later if you feel that there are some extra features available elsewhere. Generally speaking though, going for something simpler tends to work best.
If you are not sure which theme to choose? Check out our guide on How to Choose the Best WordPress Theme for Your Website in 2026.
Customize your website
When you install your theme, you can personalize it to match your branding. Choose a few colors and fonts for your logo and website title and use these throughout the site to build brand recognition.
For example, if you have a blog called “The Healthy Life,” your logo could include a green leaf to show off your focus on healthy eating. Next, make sure your navigation menu helps your visitors quickly locate what they’re looking for. A typical blog might list links for Home, About, Blog, Categories, and Contact.
Now, let’s focus on what needs to be in each part of your website. For example, this section usually contains a logo and a menu. This one could contain copyright information, links, or even your social profiles.
Remember that it doesn’t have to be perfect right now because you’ll still have plenty of opportunities to improve it later!
Create essential pages
Now that you understand the basics of content marketing strategy and know how to write better articles for your website — you’re ready to start publishing!
However, before writing anything, you’ll want to make sure you have at least some of these core pages up and running:
- A home page introducing your website.
- An ‘About’ page explaining who you are.
- A blog/Articles page where you post new content.
- A Contact us/Get in touch page (usually with a contact form).
And finally, if your site gathers personal data, works with any kind of analytics tools or utilizes third-party services – then you probably need a Privacy Policy page as well. Depending on your geographical location, you may also require additional legal disclosure pages.
Install important WordPress plugins
Plugins allow developers to plug additional functionalities into your website — you don’t have to code them from scratch! But remember, there are tonnes of plugins out there, and some could be useful for you while others may be overkill.
Some handy categories you can browse onWordPress.org’s plugin directory include SEO, security, backups, performance/caching, contact forms, image optimization and analytics.
For example, if SEO is one of the plugins’ categories you’re interested in checking out, you’ll find quite a few options such as SEO Titles & Meta Descriptions, XML Sitemap, Content Analysis And More.
Of course, before installing anything make sure the plugin gets regularly updated and is compatible with your WordPress version.
Improve website speed and security
A few basics go a long way:
Keep things current. Update your version of WordPress as well as your theme and plugins.
Use a good password for your admin account, and turn on two-factor authentication wherever possible.
Set up regular backups to be able to restore your site quickly should anything go wrong. You’ll find details about backups offered by your host here (GoDaddy’s Managed WordPress documentation lists daily backups and restores) — and here’s more from Hostinger with backup specifics depending on your plan choice.
Compress and resize images before uploading them to avoid slowing down your website unnecessarily.
Avoid installing extra plugins unless they’re truly necessary – especially those that are poorly maintained which often introduce security and/or performance issues.
Confirm SSL is active. Most hosting plans have this enabled, but it’s always worthwhile double-checking.
Final thoughts
You can create a professional looking site without knowing how to code thanks to tools like a domain name, web host, wordpress platform and a good looking theme.
Now, don’t waste all of your time making your site 100% perfect right away. Get yourself a simple design, work on building out necessary pages, start publishing high quality content (which will be discussed more), do some basic SEO optimization, focus on making your site fast and secure.
But also know this – nothing about your very first website is going to be perfect, and that’s okay! That’s where the really awesome learning happens post-launch!